- Help Center
- Getting Started
- User Management & Configuration
-
Getting Started
-
Using SmartPM
-
Troubleshooting & FAQ
-
Best Practices & Learning Center
- Why CPM is Important
- Building a High-Quality Schedule
- Understanding the Metrics
- SmartPM/Procore Integration
- Schedule Quality Metric Deep Dives
- The Basics of CPM Scheduling
- How SmartPM Handles Schedules with Data Integrity Issues
- Building a Quality Baseline Schedule
- Schedule Updating Best Practices
- Microsoft Project
-
Release Notes
Metadata
Use Metadata to be able to filter your project by business unit, region, project type, subcontractor, scheduler or any other filter you would like to have.
How to add Metadata
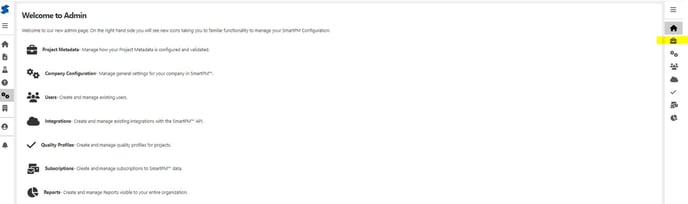
1. Go to the Admin section.
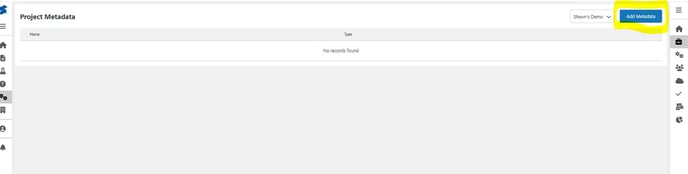
2. Go to Project Metadata
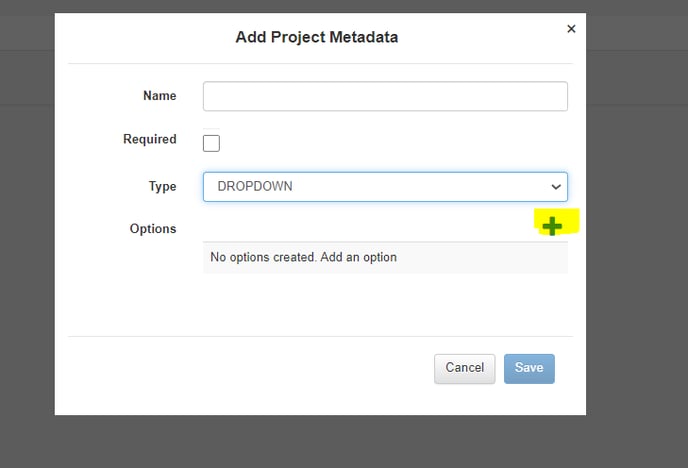
3. Click the "+" sign to add Metadata
4. Add the Name of the Metadata
5. Select whether you want the Metadata assignment to be "Required" when a project is created.
6. Select "Dropdown" in the "TYPE" category
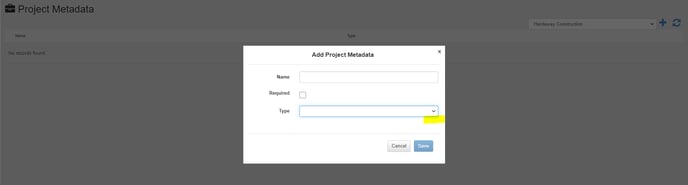
7. Click the "+" sign to add the types of metadata that fall under that category.
